Receiving and Editing Payments

Advanced Search Options - Receivable Payments

Receive Payment

Steps to receive a payment
  1. Click on the Manage Receivables link in the Actions menu of the Accounting tab.
  2. Perform an Advanced Search in the Search Options: Receivable Payments panel at the top of the screen.
  3. Click the next to the appropriate Statement / Department.
  4. Click the Add New Payment link for the statement to which you wish to add a payment.
  5. In the Add New Payment dialog box, enter the appropriate information.
  6. When finished, click one of the following:

Navigation Tips:

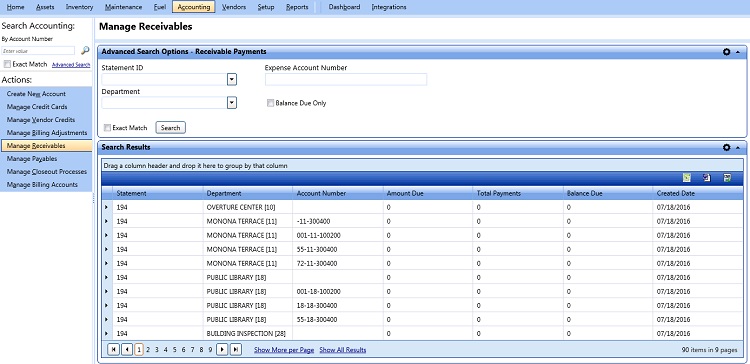
  • You can expand or collapse panels by clicking on the arrow to the right of the title bars.
  • You can sort items by any category by clicking on that category's column heading.
  • You can move the panels by clicking and dragging the panel to the desired location.
  • You can move the columns in the data grid by dragging the column heading to the desired location.
  • To save changes made to the panels and field positions on the tab, click the gear icon. The panel and field positions will look the same next time you access this tab.
  • To page through the list, use the arrows at the top or bottom of the panel. You can also specify here whether to display the entire list or ten items at a time.
  • To export the search results to Microsoft Word, Microsoft Excel, or Comma-Separated Value (.csv), click the appropriate Export link at the top right of the Search Results screen. This will generate a print dialogue box specific to your computer.

Edit Payment

Steps to edit a payment
  1. Click on the Manage Receivables link in the Actions menu of the Accounting tab.
  2. Perform an Advanced Search in the Search Options: Receivable Payments panel at the top of the screen.
  3. Click the next to the appropriate statement.
  4. Click Edit next to the payment you wish to edit.
  5. Modify the relevant information.
  6. When you are finished, click one of the following: