Note: There are a total of 5 FASTER Web Add-ons that will need Relying Party Trusts configured. You will want to add Relying Party Trusts for each of the below Add-ons your organization has.
1. FASTER Web: https://[yoursite]/FASTER/Handlers/ADFSHandler.ashx
2. Technician Workstation: https://[yoursite]/FASTERTech/Handlers/ADFSHandler.ashx
3. Customer Portal: https://[yoursite]/FASTER/portal/Handlers/ADFSHandler.ashx
4. MotorPool Operation: https://[yoursite]/MotorPoolOperations/Handlers/ADFSHandler.ashx
5. MotorPool Reservation: https://[yoursite]/MotorPoolReservations/Handlers/ADFSHandler.ashx
To add a Relying Party Trust to the AD FS configuration database, add and configure the Relying Party Trust between FASTER Web applications and AD FS.
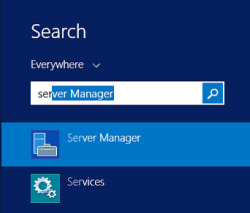
1. Search and open the Server Manager.

The Server Manager window is displayed.
2. Click Tools menu, and then click AD FS Management.
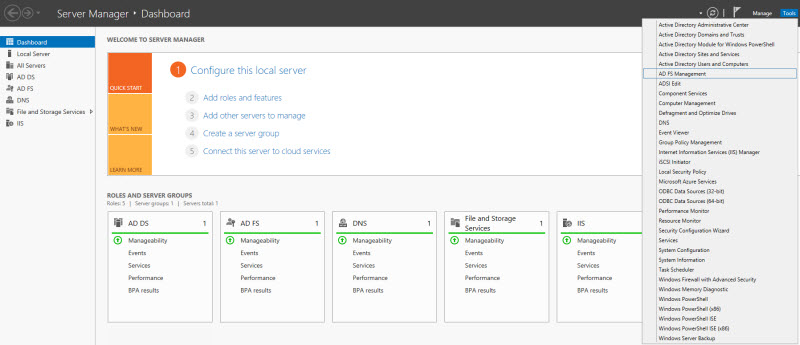
The AD FS screen is displayed.
3. In the left-hand pane, navigate under AD FS > Trust Relationships. Right-click Relying Party Trust and select Add Relying Party Trust...

The Add Relying Party Trust Wizard screen is displayed.
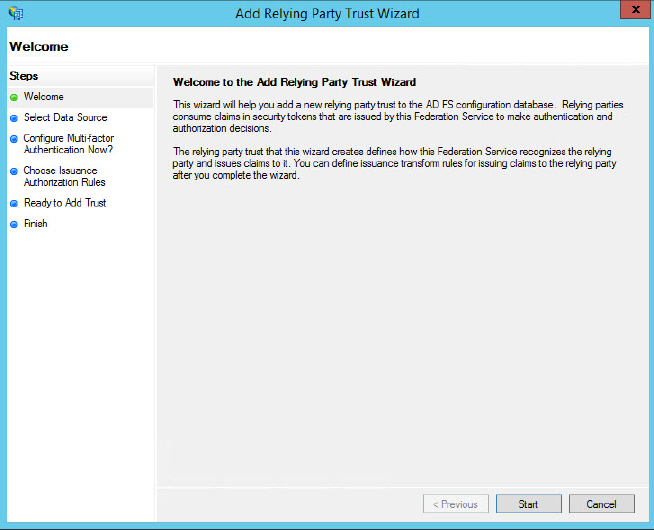
4. Click Start.
The Select Data Source screen is displayed.

5. Click Enter data about the relying party manually, and then click Next.
The Specify Display Name screen is displayed.

6. In the Display name box, type a name for the Relying Party Trust you are configuring for FASTER Web and AD FS, (i.e. FASTER Web Relying Party Trust or FASTER Tech Relying Party Trust), and then click Next.
The Choose Profile screen is displayed.

7. Click AD FS profile, and then click Next.
The Configure Certificate screen is displayed.
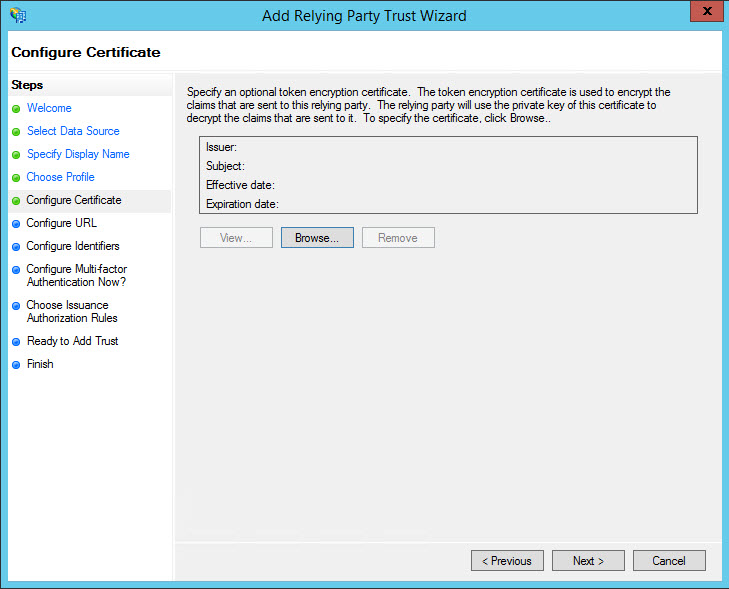
8. Click Next.
The Configure URL screen is displayed.
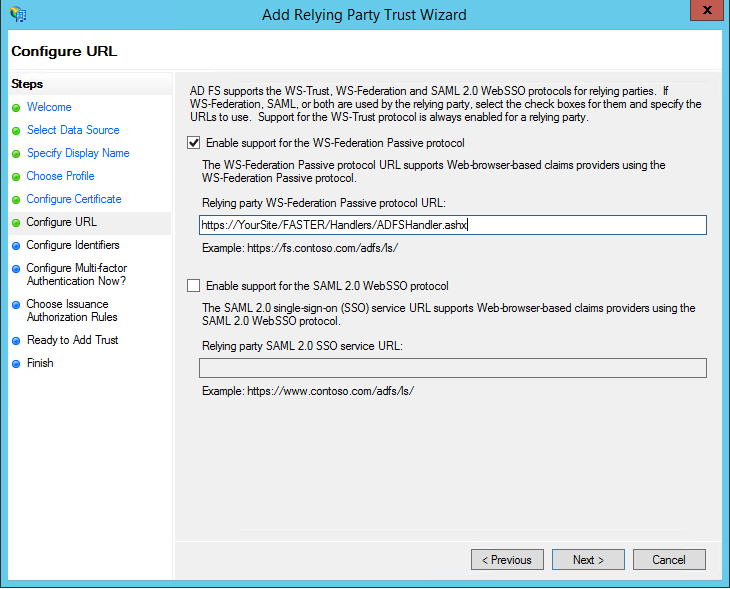
9. Select Enable Support for the WS-Federation Passive protocol check box. This will validate the authentication request and check for the Active Directory user.
Note: SSO is not supported so do not select the check box Enable support for the SAML 2.0 WebSSO protocol.
10. In the Relying party WS Federation Passive protocol URL box, type the FASTER Application URL, i.e. https://[yoursite]/FASTER/Handlers/ADFSHandler.ashx, and then click Next.
The Configure Identifiers screen is displayed.
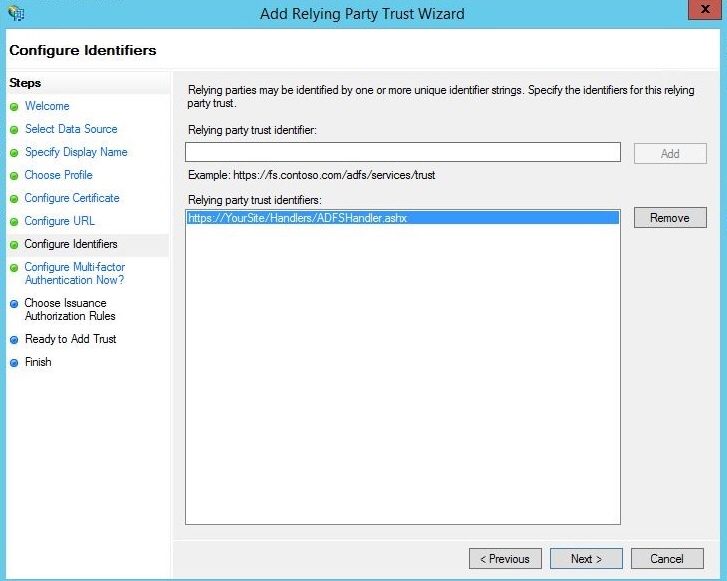
11. Click Next.
The Configure Multi-factor Authentication Now? screen is displayed.
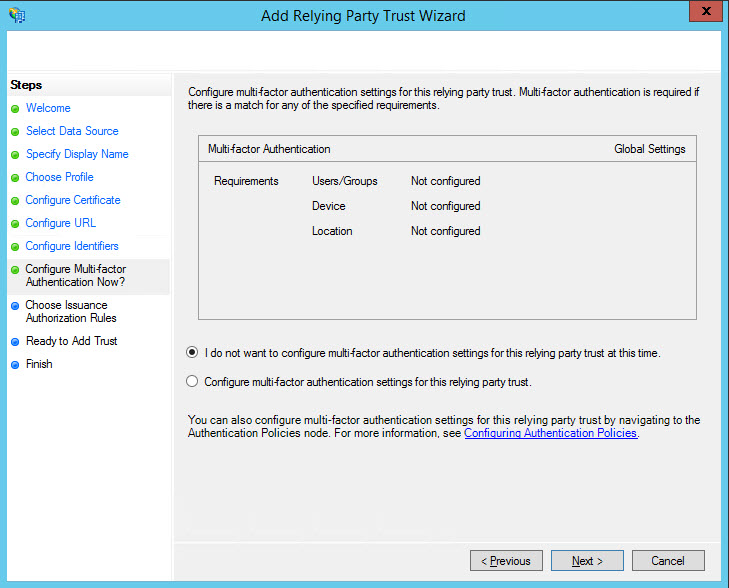
12. Click I do not want to configure multi-factor authentication settings for this relying party trust as the application does not support multi-factor authentication at this time.
13. Click Next.
The Choose Issuance Authorization Rules screen is displayed.
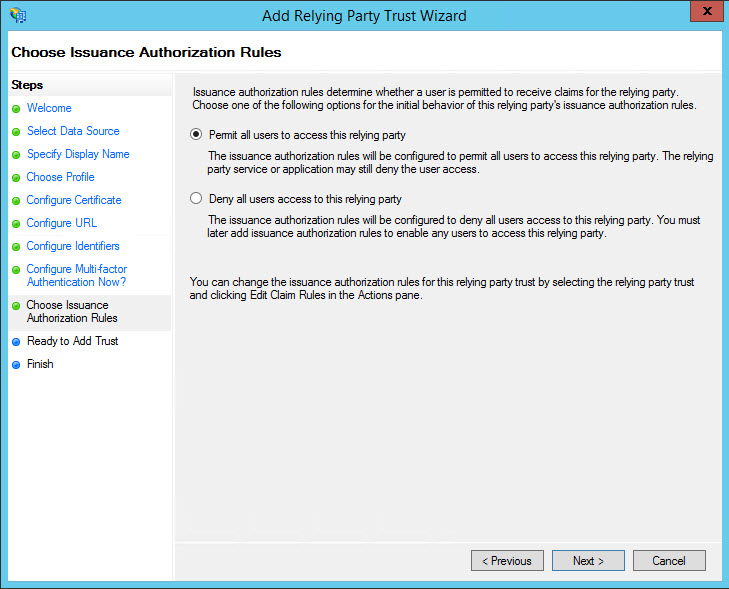
14. Click Permit all users to this relying party.
15. Click Next.
The Ready to Add Trust screen is displayed.
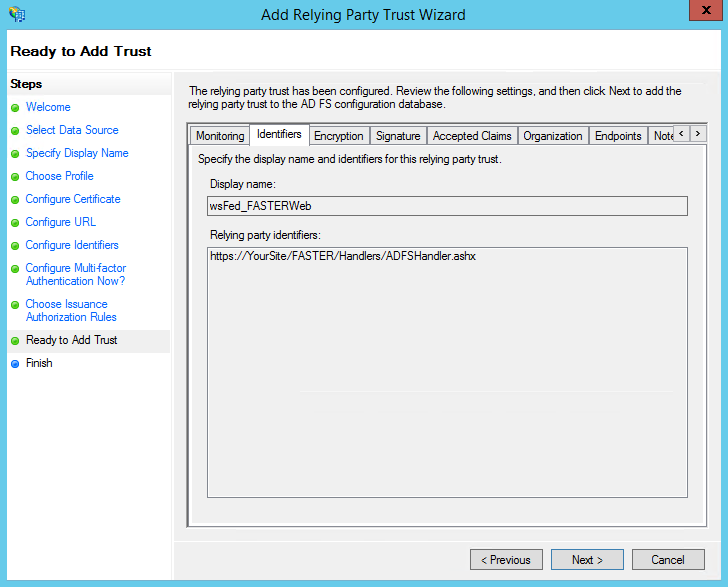
16. Click each tab and verify the data selected in the earlier screens, and then click Next.
The Finish screen is displayed.
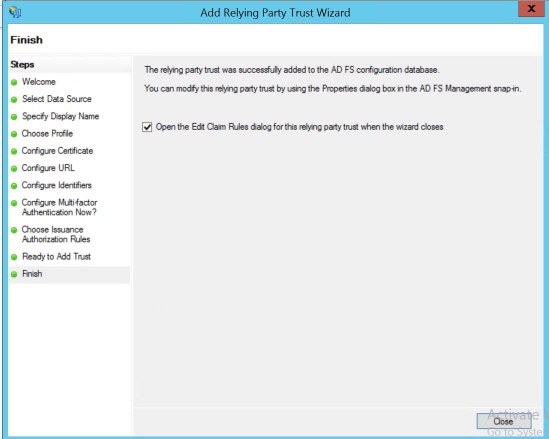
17. Click the check box Open the Edit Claim Rules dialog for this relying party trust when the wizard closes, and then click Close.