After creating all the necessary Relying Party Trust(s) for each add-on your organization has purchased, step 2 creates claim mappings so that the Active Directory Group(s) containing FASTER users is associated with each Relying Party Trust.
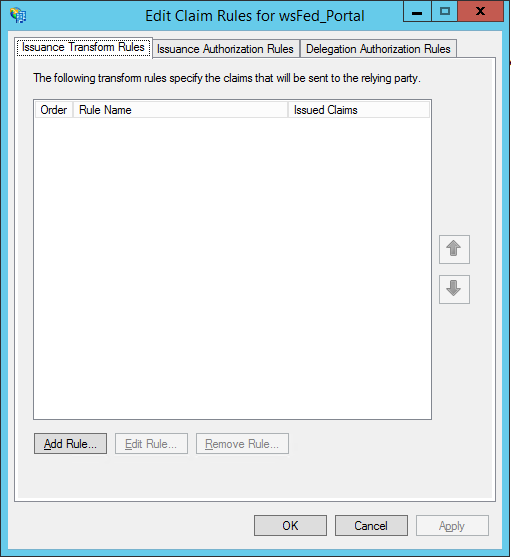
1. The Edit Claim Rules screen is displayed.
2. Under the Issuance Transform Rules tab, click Add Rule.
3. Ensure Send LDAP Attributes as Claims is selected from the Claim rule template: dropdown menu.
![]()
4. Click Next.
5. Enter a Claim Rule Name i.e. “FASTER Web Claim Rule or FASTER Tech Claim Rule”
6. Select Active Directory from the Attribute store: dropdown menu.
![]()
7. Select and map LDAP Attributes as below.
| LDAP Attribute | Outgoing Claim Type |
| E-Mail-Addresses | E-Mail Address |
| Given-Name | Given Name |
| User-Principal-Name | UPN |
| SAM-Account-Name | Windows account name |
8. Click Finish.
9. Click Apply.
This section adds Issuance Authorization rules and will need to be performed for each Relying Party Trust.
1. Click the Issuance Authorization Rules tab.
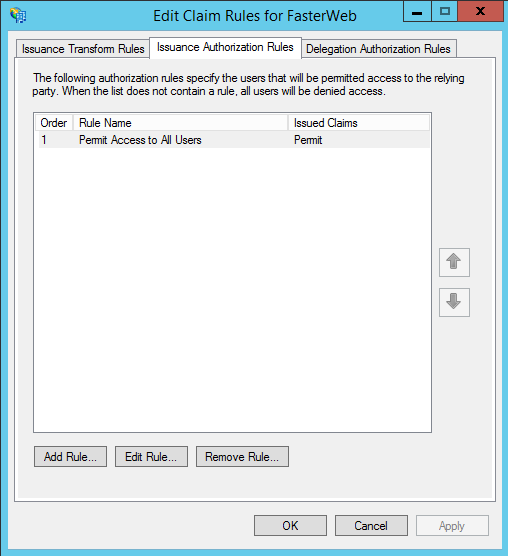
2. Click Permit Access to All Users and then click Remove Rule...
3. A dialog box is displayed asking "Are you sure you want to delete this claim rule?" click Yes.
4. Click Add Rule.
5. The Add Issuance Authorization Claim Rule Wizard is displayed. Ensure Permit or Deny Users Based on an Incoming Claim is selected in the Claim rule template: dropdown menu.
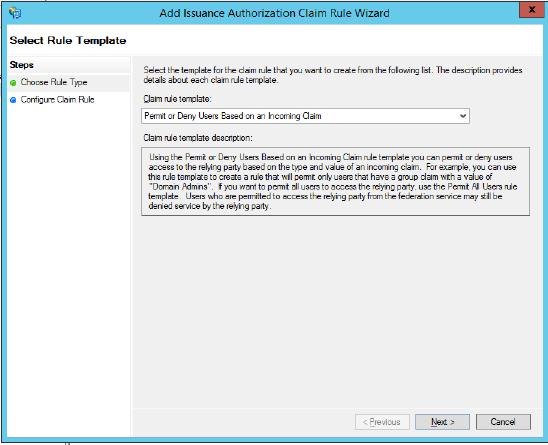
6. Click Next.
7. Enter a name i.e. “FASTER Web Claim Rule or FASTER Tech Claim Rule” in the Claim rule name: box.
8. In the Incoming claim type: list, select Group SID.
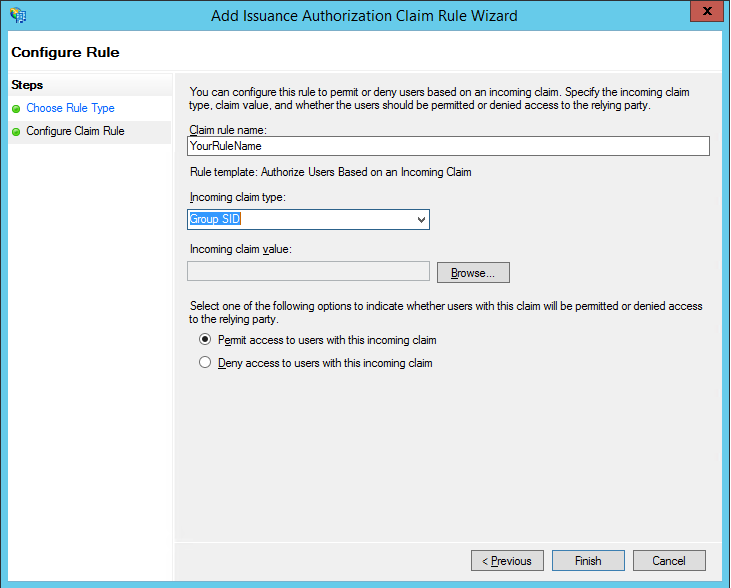
9. Under the field titled Incoming claim value: click Browse.
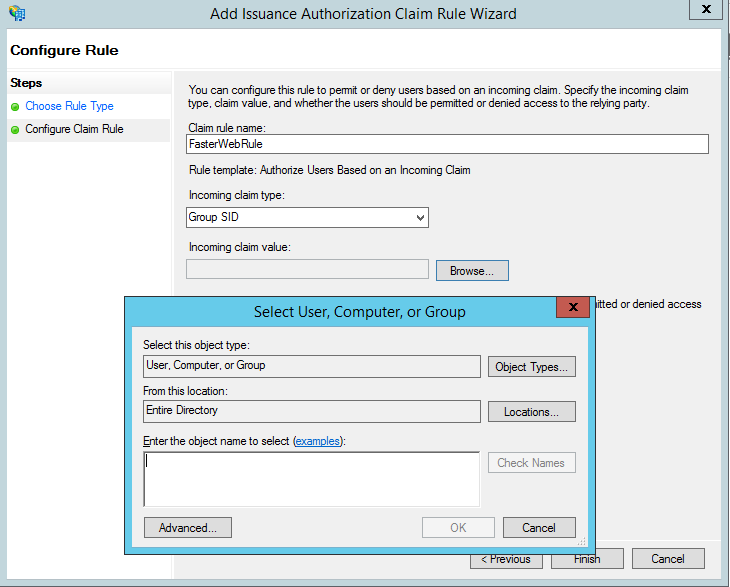
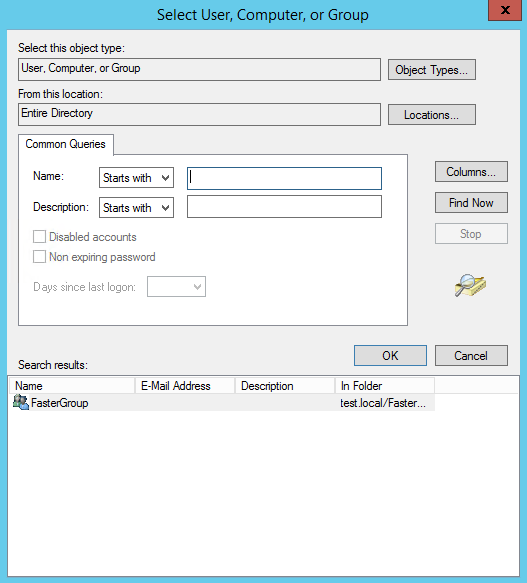
10. Click Advanced... and select the required security group under Search results:.
Note: Here FasterGroup is an example of an Active Directory Security Group that FASTER users have membership to.
11. Click OK and then click Finish.
12. Click Apply and then click OK.